User Guide
How-To Tutorials
Capacity Planning
How to Run a Capacity Check
- Go to Capacity Planner & Insight → Analytics Dashboard
- Click Scope → select a Project and Date Range → click Apply
- Review:
- Team Allocation tab - who has what and how much
- Assignee Capacity tab - per-person load vs. estimates
- Deadlines & Risks tab - overdue and at-risk issues
- Status Aging tab - issues stuck in a status too long
How to Create and Save a Capacity Plan
- Go to Capacity Planner & Insight → Capacity Planner
- Click Create New Planner
- Select users or teams to include, set date range and view mode
- Review the capacity distribution
- Click Save and give the plan a name
- Reload it anytime from Saved Plans in the sidebar
Time Tracking
How to Log Time
- Open the app → Time Tracking module
- Click Log Time button (top-right of any report or calendar)
- Search for the Jira issue you worked on
- Enter hours (e.g.,
2h 30m) - Select the date
- Optionally select an Account and Time Category
- Click Save
Tip: Use My Calendar to see which days have no logged time and fill in gaps quickly.
How to Review Your Daily Time (My Calendar)
- Open Time Tracking → My Calendar
- Each day cell shows total hours logged
- Click any day cell to see the breakdown of issues logged that day
- Click a cell to add, edit, or delete worklogs for that date
How to Build a Timesheet Report
- Go to Time Tracking → Timesheet
- Click Create Report
- Click Add Filter to set: Projects, Users, Accounts, Date Range
- Add Group By dimensions (e.g., Project → Issue → Date)
- Choose View Mode: Days, Weeks, or Months
- Click Save to preserve the report configuration
- Click Export to download as CSV or PDF
How to Create a Billing Account
- Open Time Tracking → Accounts
- Click Create Account
- Enter Account Name and optional Account Key
- Click Save
- Select this account from the Log Time form when logging time for that client
Portfolio Management
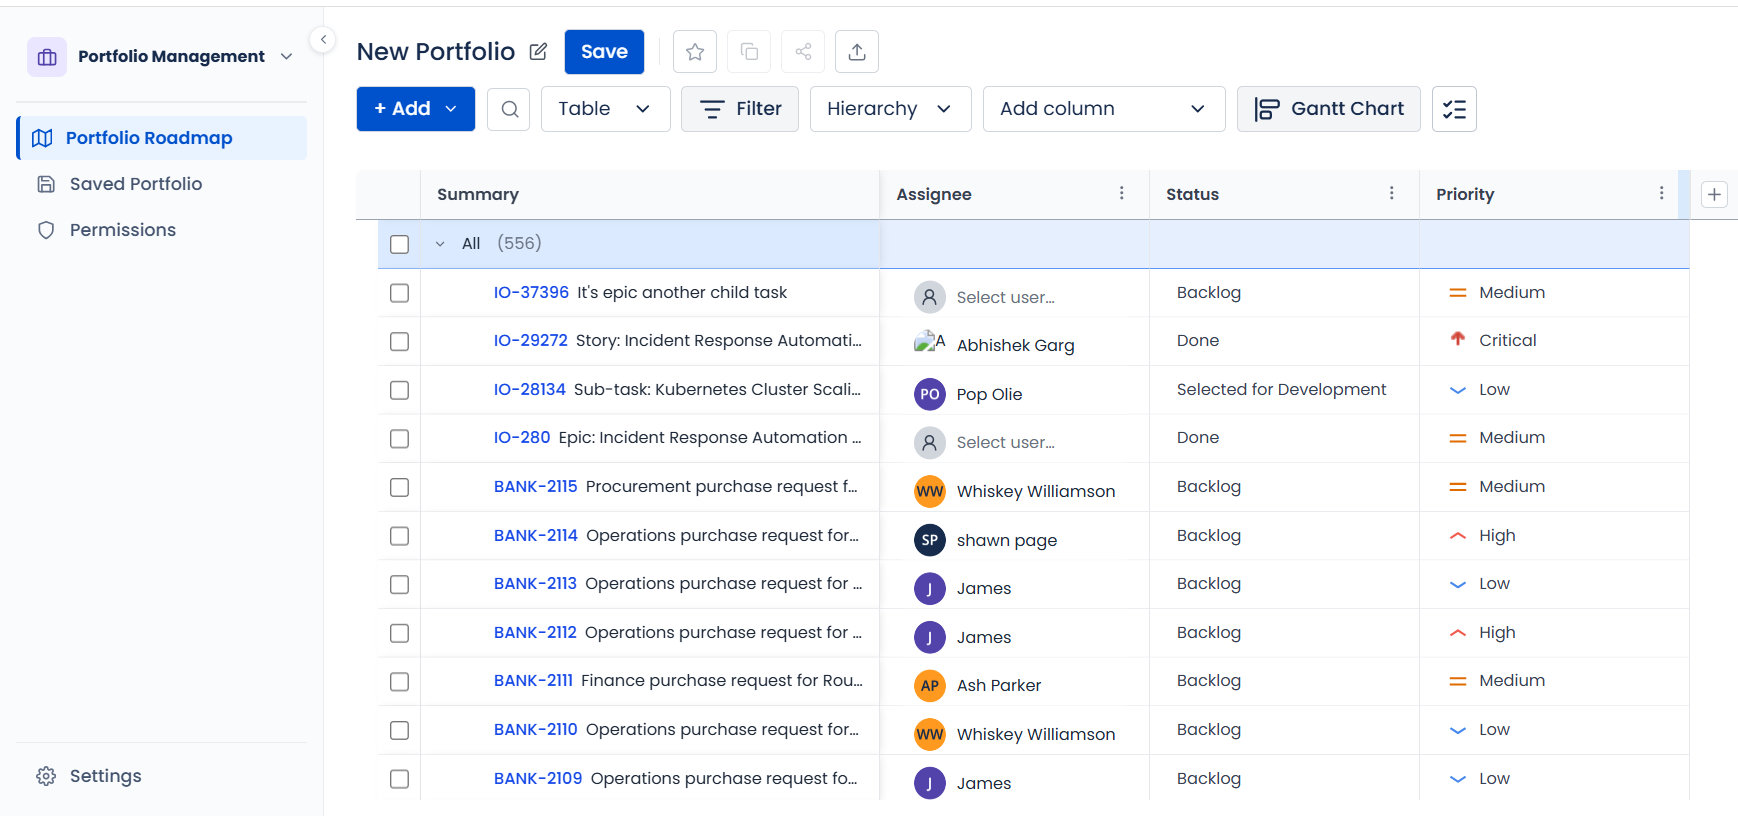
How to Create a Portfolio
-
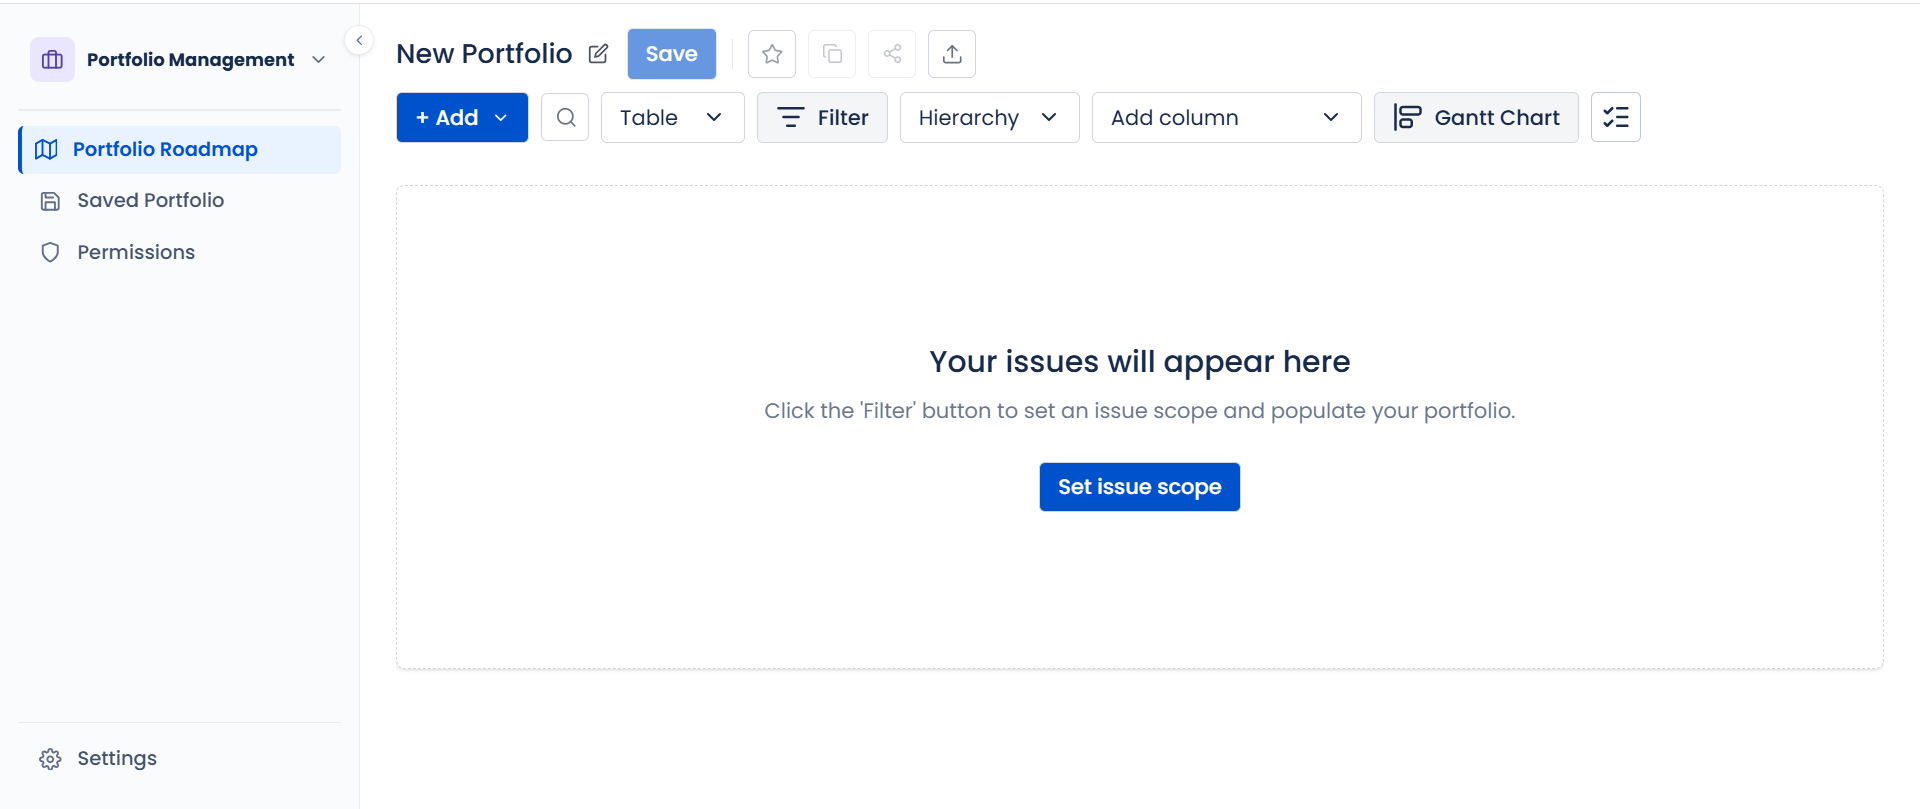
Go to Portfolio (PPM) in the module switcher
-
Click Filter → choose Manual Filter or Saved Filter or JQL
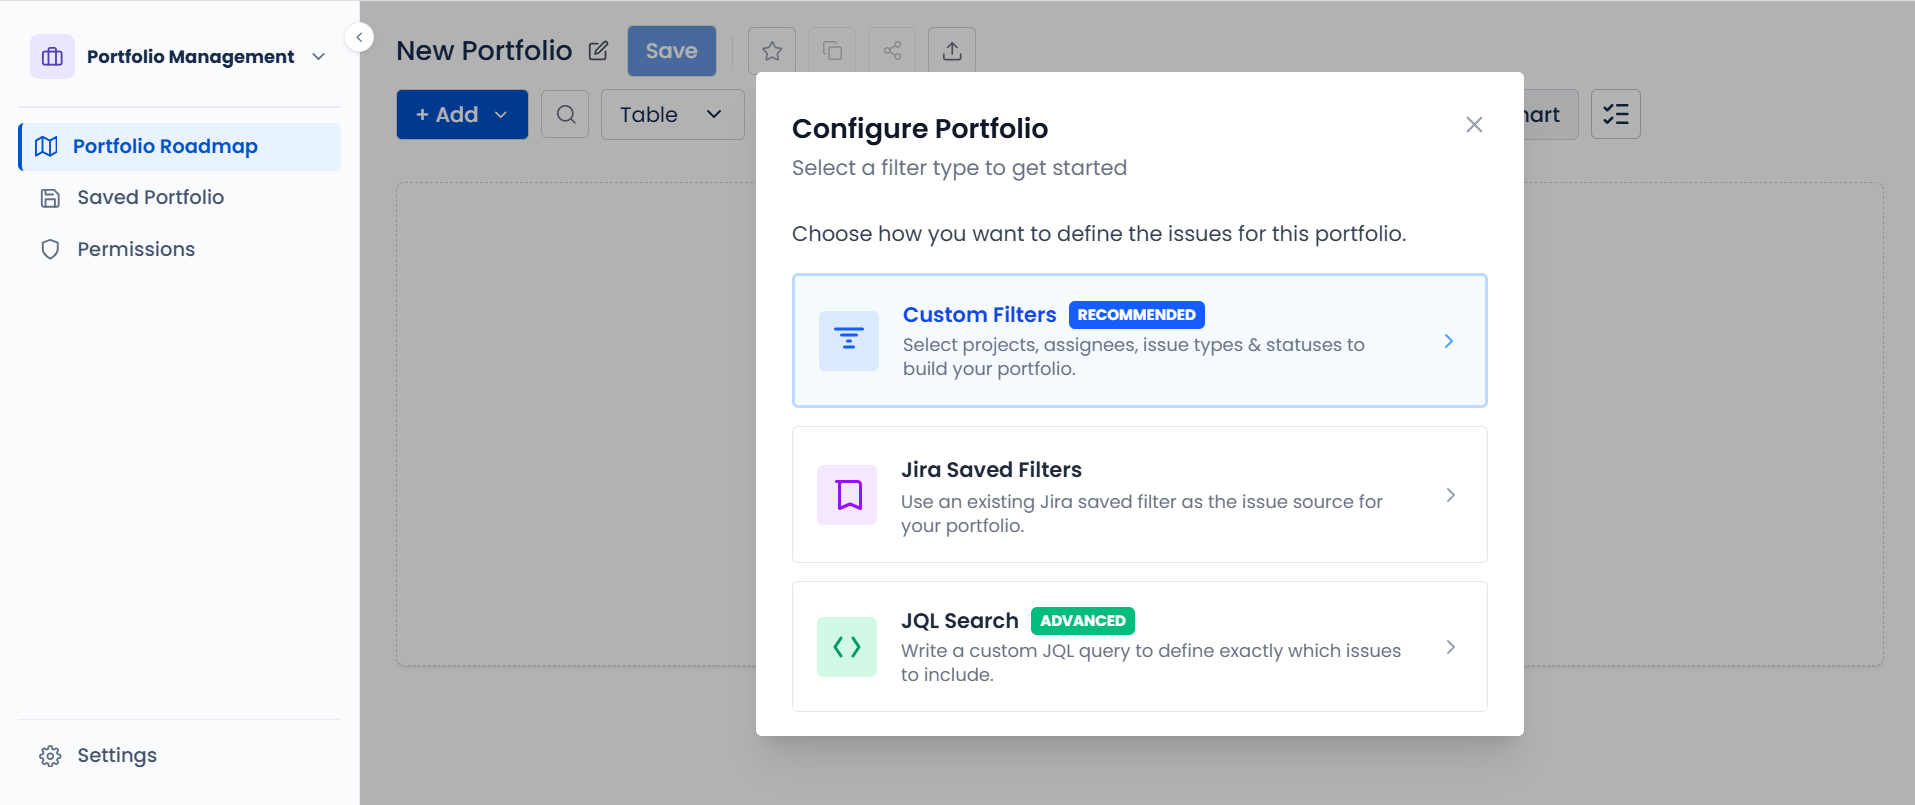
-
Set your scope (projects, issue types, date range)
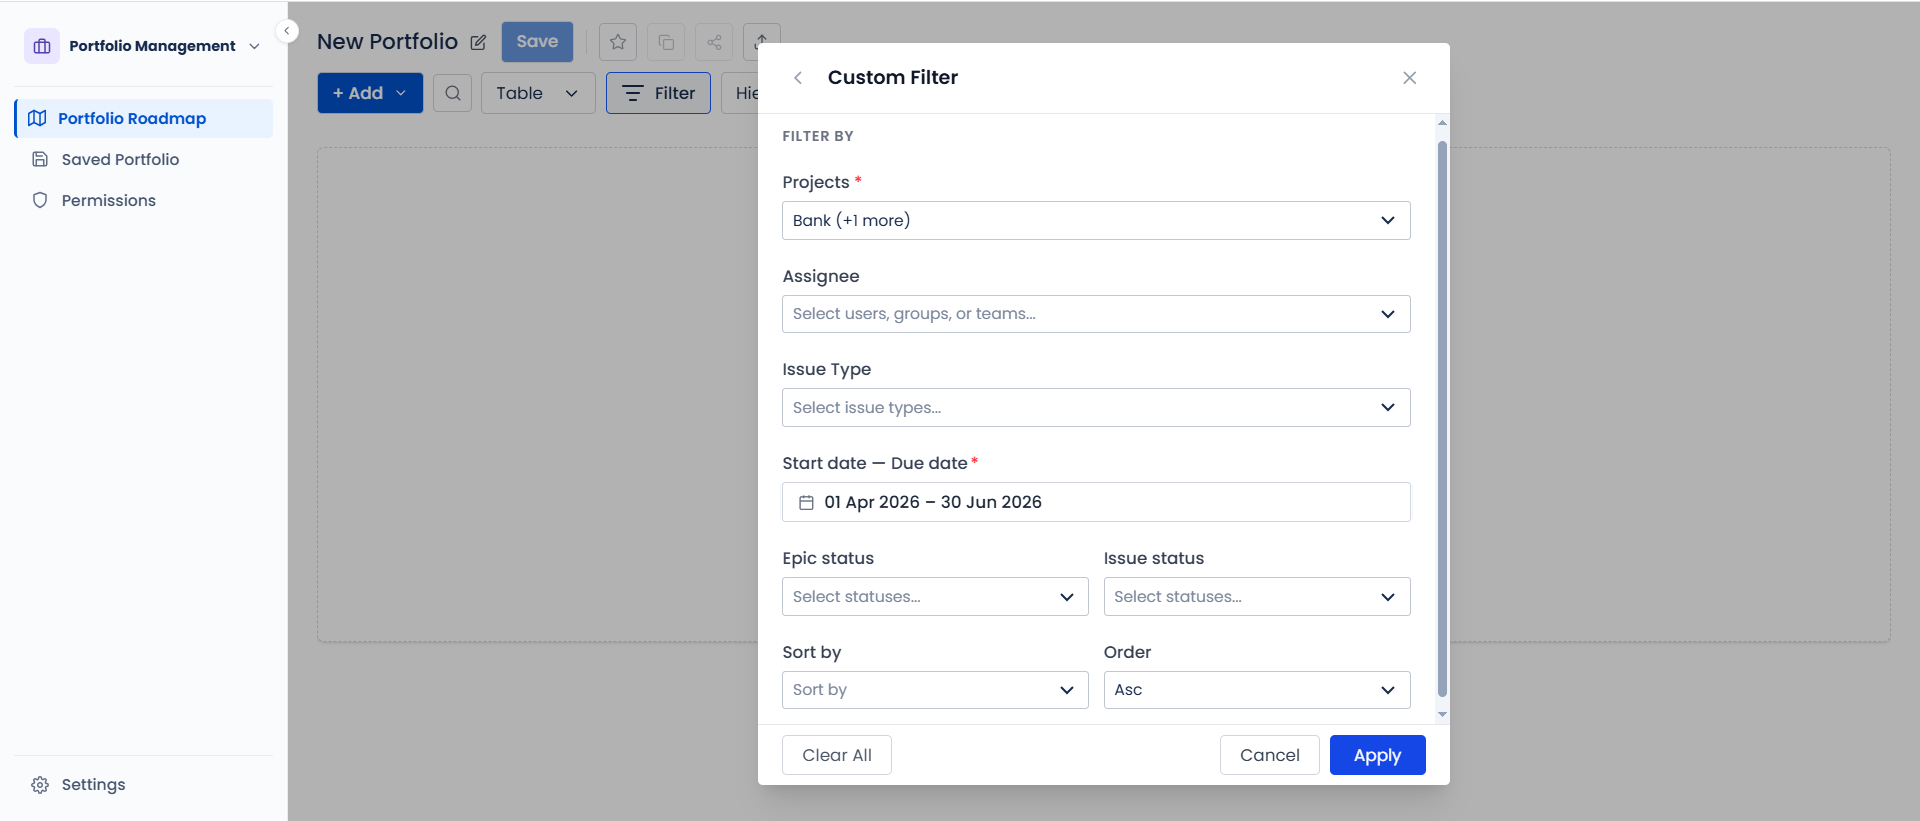
-
Click Apply to preview matching issues
-
Click Save
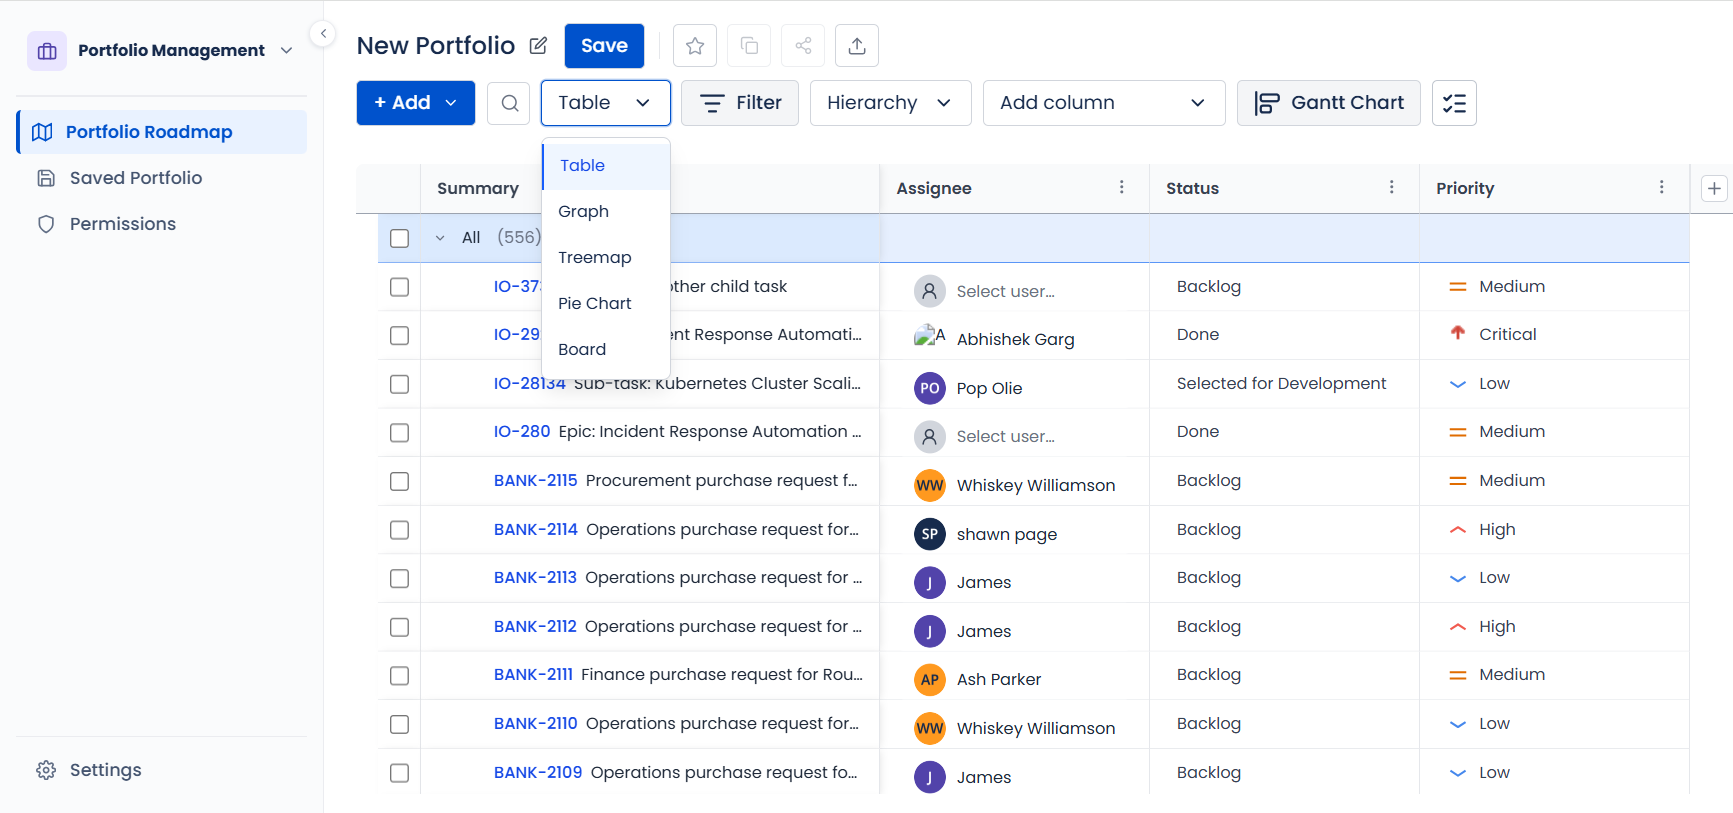
How to Switch Portfolio Views
With a portfolio open, use the view mode selector (top-right) to switch between: Table → Gantt Chart → Graph View → Treemap → Pie Chart → Board View
How to Edit Dates in the Gantt Chart
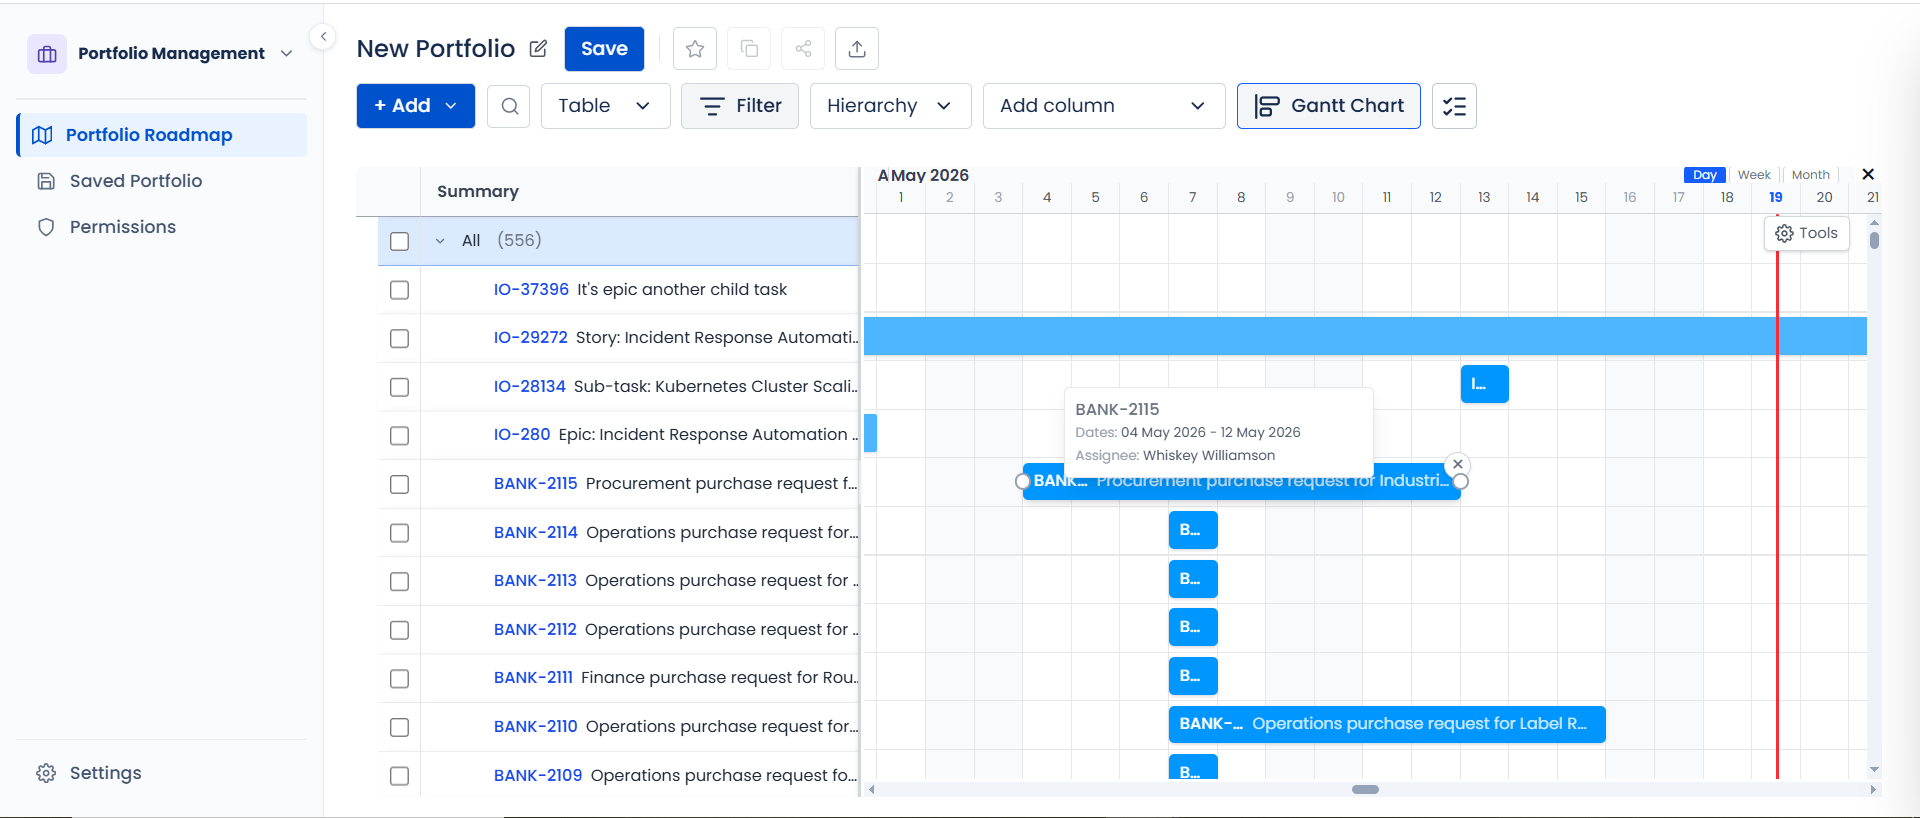
- Open a portfolio → switch to Gantt Chart view
- Drag the left edge of a bar to change the start date
- Drag the right edge to change the due date
- Changes save directly to the Jira issue's Start Date and Due Date fields
How to Create a Gantt Dependency
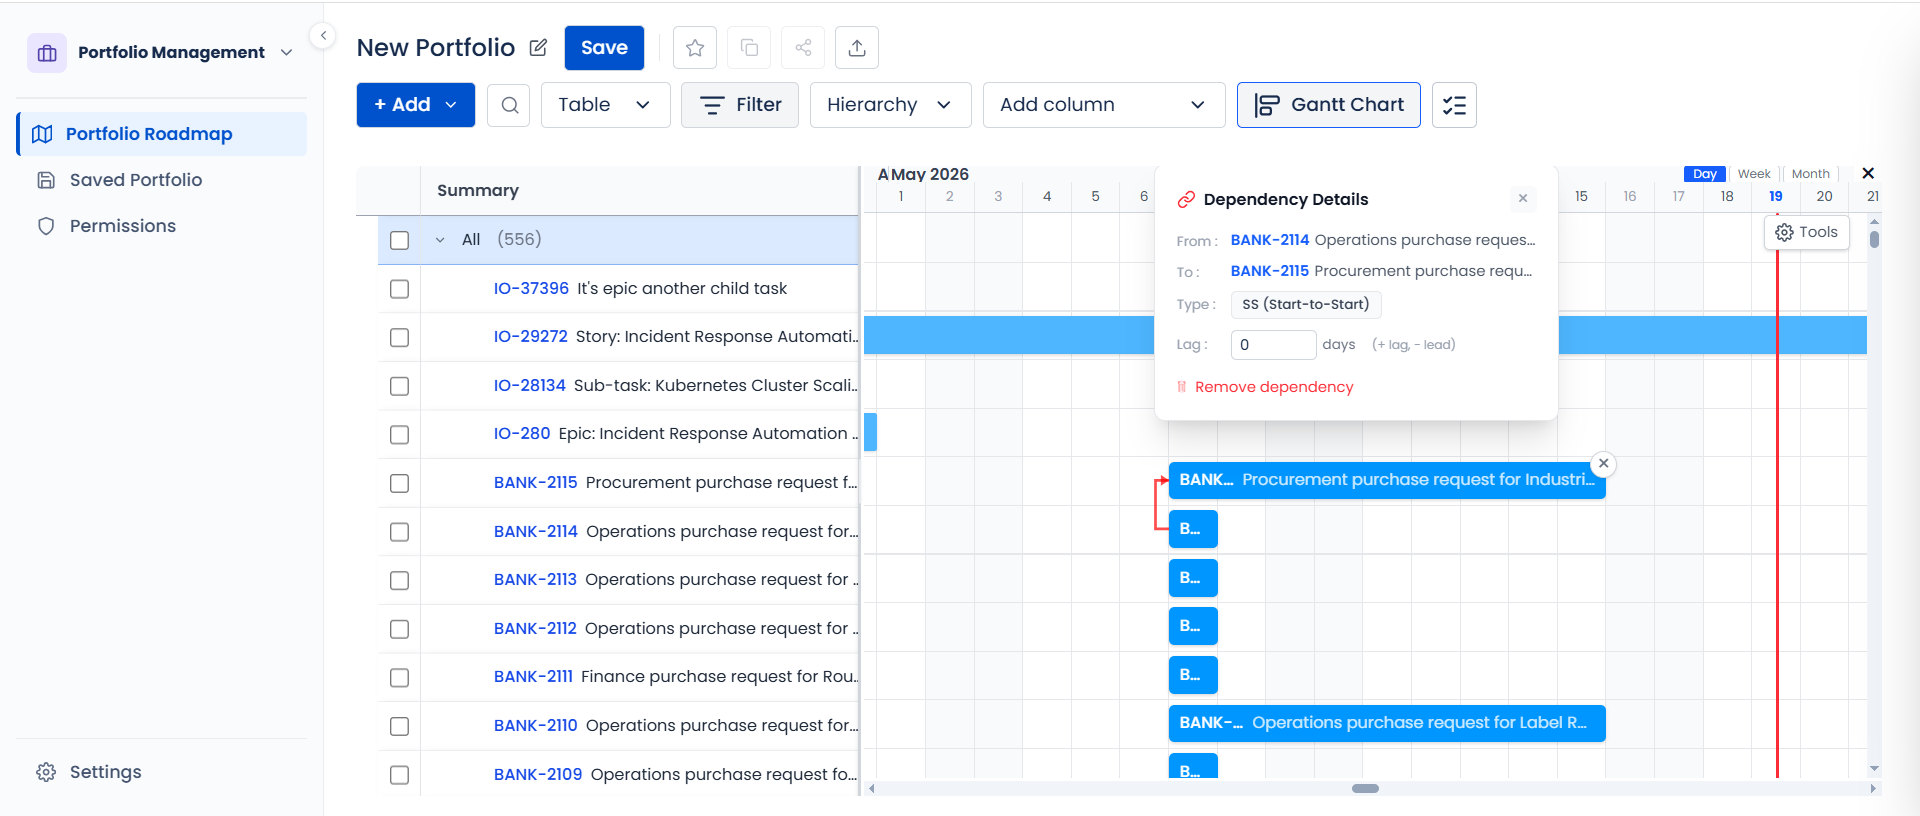
- Open portfolio in Gantt Chart view
- Hover over a task bar's end point until the connector dot appears
- Drag to the start of the dependent task
- Dependency types: Finish-to-Start (FS), Start-to-Start (SS), Finish-to-Finish (FF), Start-to-Finish (SF)
Backlog Prioritization
How to Score a Backlog
- Go to Backlog Prioritization → Backlog Table
- Select your Jira project
- Choose a scoring template (e.g., ICE, RICE, WSJF)
- Click any metric cell to enter values inline
- The Score column calculates automatically
- Click Save Report to preserve the scored snapshot
How to Use the Priority Matrix
- Score your backlog using the steps above
- Click the Matrix view button (top-right view switcher)
- Each dot represents one issue
- Hover on a dot to see issue details
- Click Matrix Settings to change the X and Y axes
How to Create a Custom Scoring Template
- Open the template selector → Manage Templates → Create New Template
- Enter Template Name
- Add each metric (name, input type, range)
- Enter the formula referencing your metric names (e.g.,
Impact * Confidence * Ease) - Click Save - the template appears in the template selector
Admin Tasks
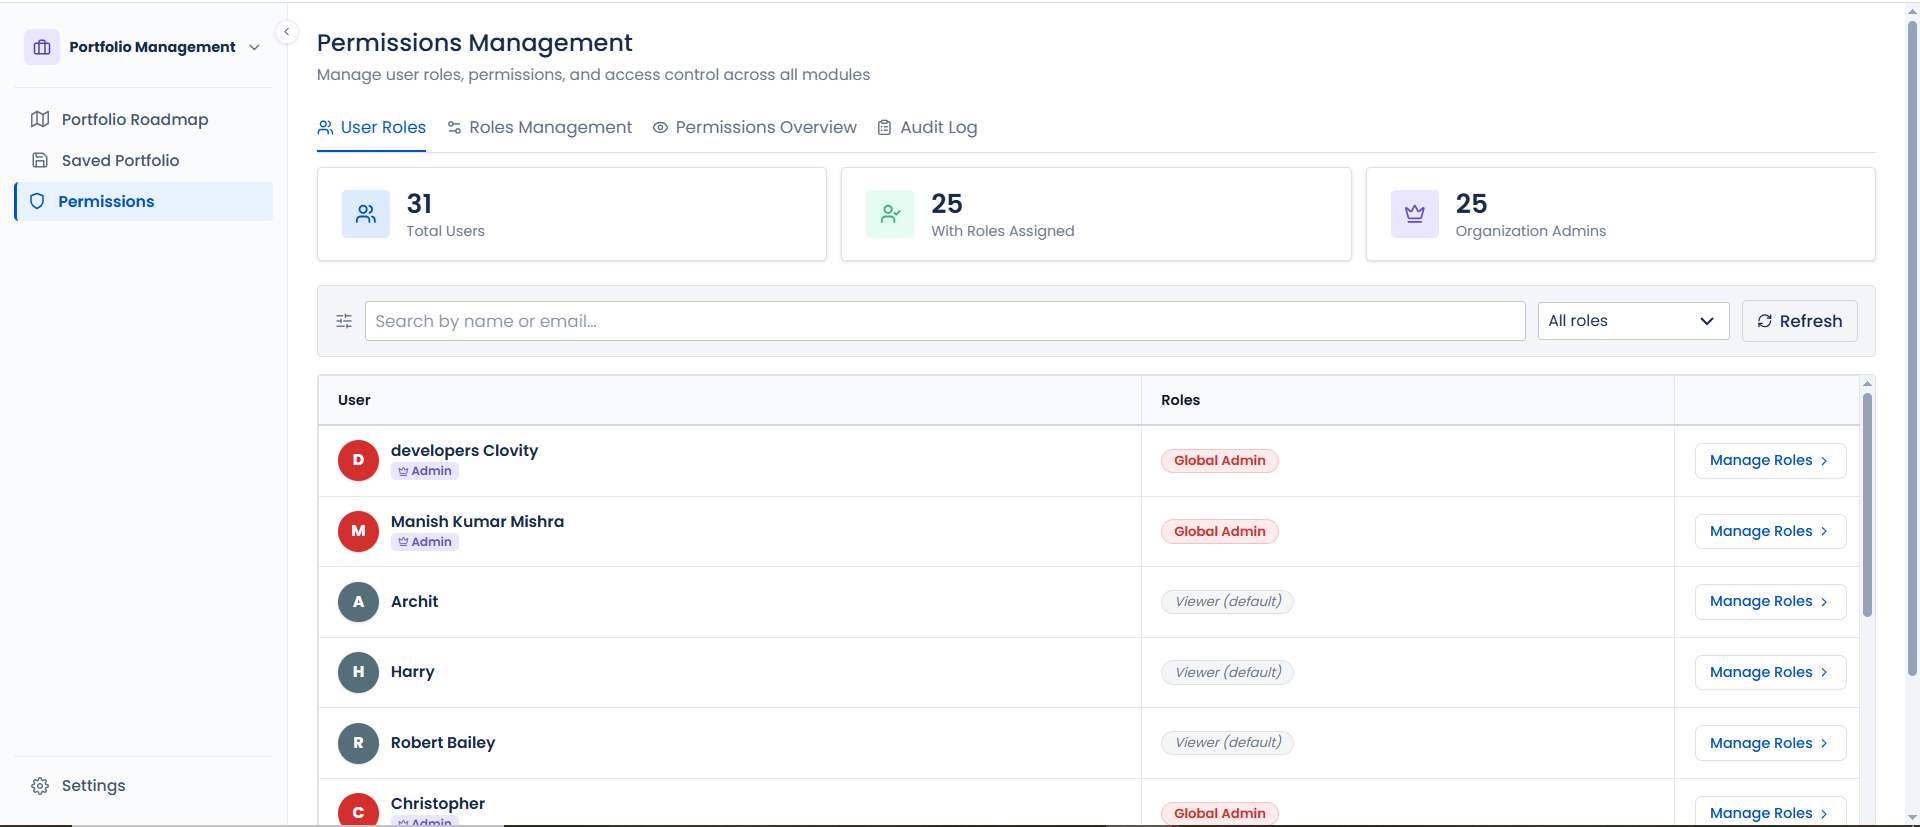
How to Assign a Member Role
- Go to Settings → RBAC → User Roles
- Search for the user by name or email
- Click the Edit (pencil) icon
- Check the Member checkbox
- Click Save - takes effect immediately
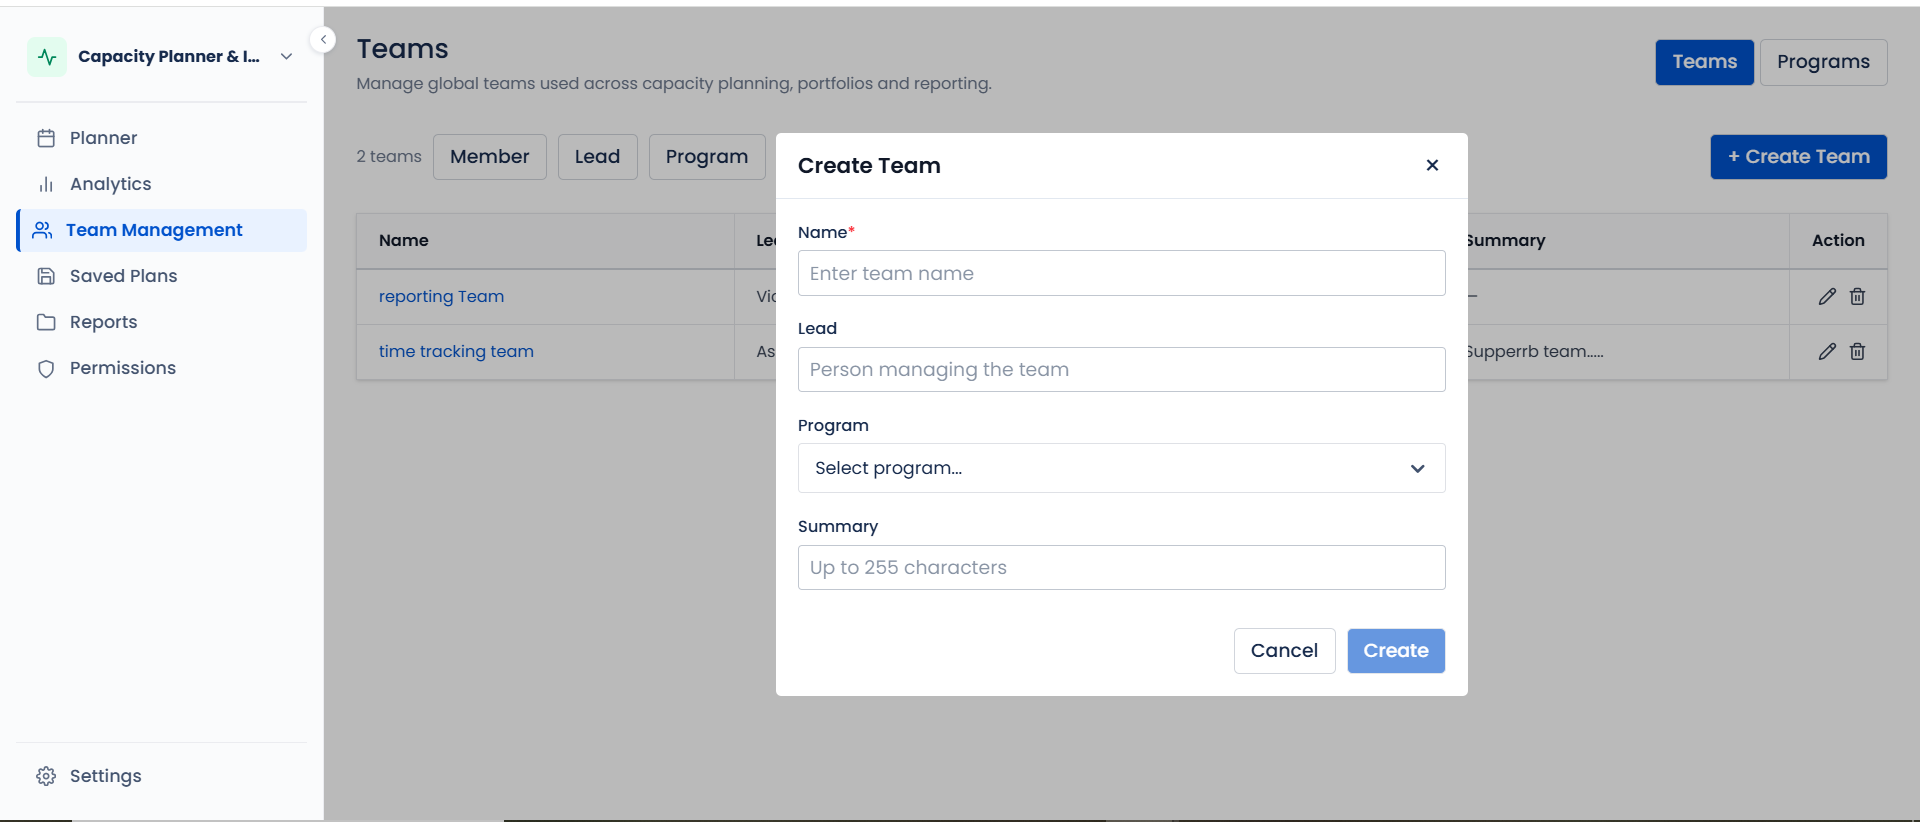
How to Create a Team
- Open Time Tracking or Capacity Planner module
- Click Teams in the sidebar
- Click Create Team
- Enter Team Name and select Source (Manual or Jira Group)
- Add members and click Save